R3 - Admin User Guide
Welcome to the Admin User Guide for our innovative R3 micro learning platform! This comprehensive guide empowers you to navigate the intricate system configurations, create tailored learning content, and optimize the learning environment for maximum impact. Explore this guide to unlock the tools and functionalities that allow you to orchestrate a dynamic and engaging learning experience for all users. Let's embark on this journey of empowerment and knowledge cultivation together!
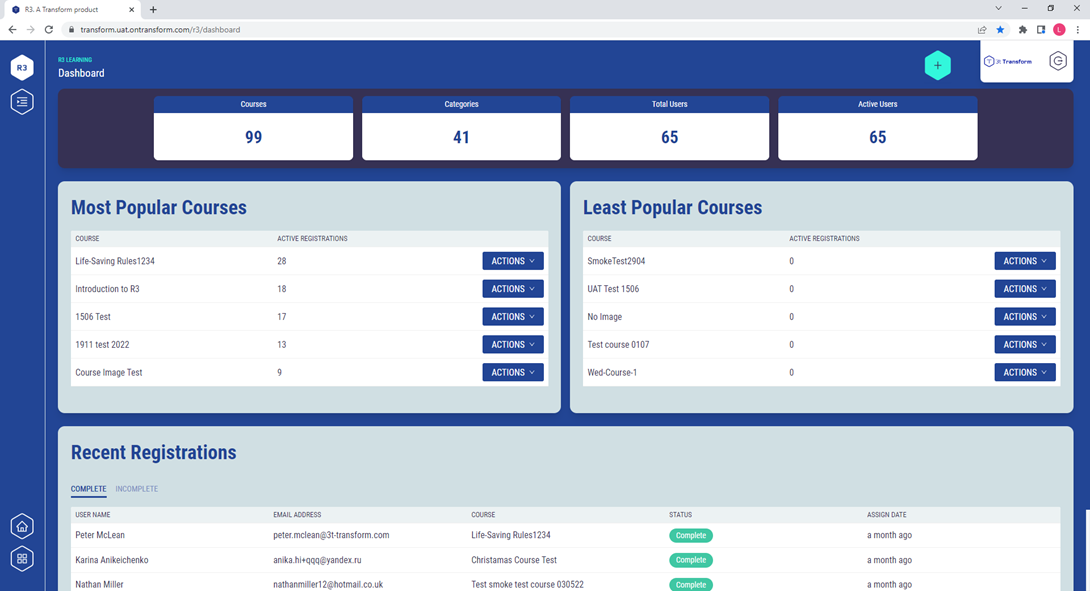
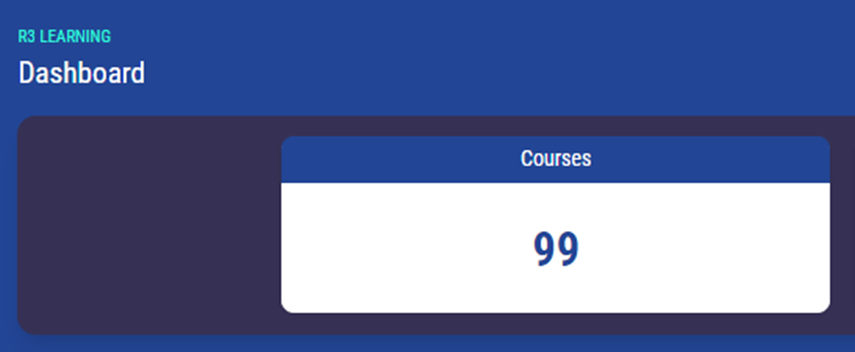
Dashboard
When logged in as an administrator, the default screen is the dashboard:
Create a Category
Before you can create a course, you need to create a category within which that course can be placed.
Either:
Select ‘Categories’ from Dashboard:

Or
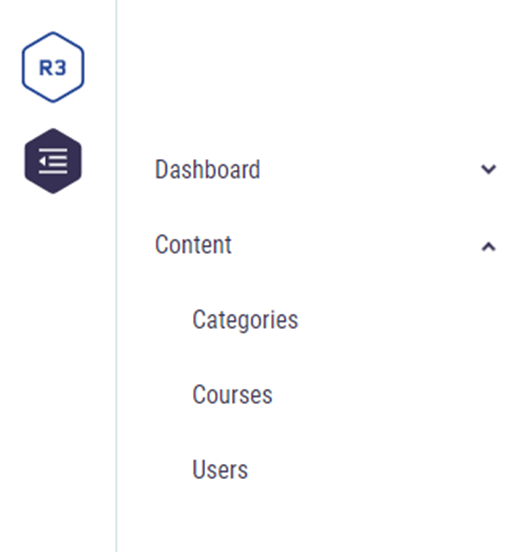
Select the navigation icon and access the ‘Categories’ from within the ‘Content’ drop down menu:

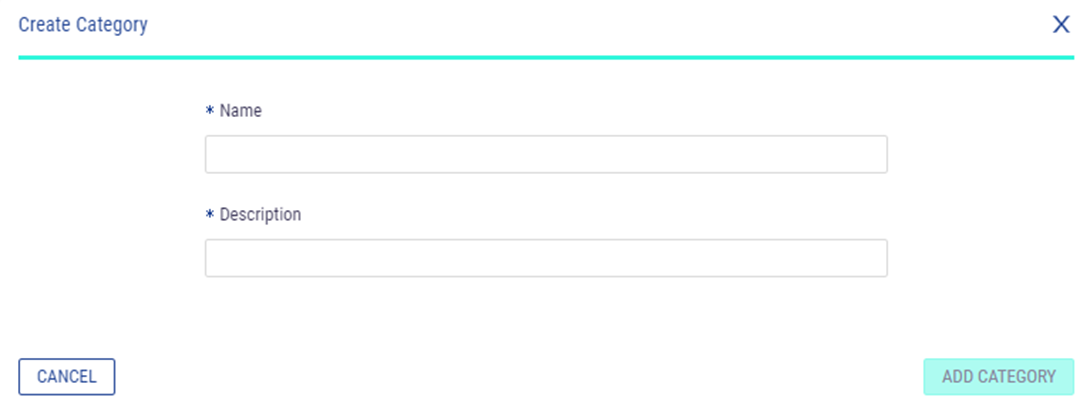
You can then ‘ADD CATEGORY’ using the button in the top right corner of the Categories screen:


Give your category a name (e.g. ‘Well control’)
Add a description (e.g. all R3 content related to Well Control)
Create a Course
Either:
Select ‘Courses’
Or
Select the navigation icon and access the ‘Courses’ from within the ‘Content’ drop down menu:
Create a course – Options
You can either ‘UPLOAD COURSE’ or ‘CREATE COURSE’ within the ‘Courses’ screen using the two green buttons in the top right corner of the screen’:


Option 1: Upload Course
This option is used if you have an already-populated Excel template with all questions, answers, image links and learning objectives. (See below for Excel template requirements)
If you already have an Excel template pre-populated, select ‘UPLOAD COURSE’ – this will take you to this screen:
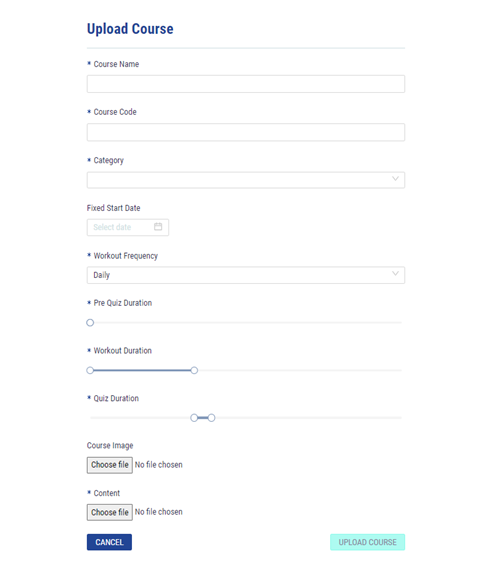
In this section, you need to populate the following:
· Course name
· Course code (use a unique code for each)
· Category (select the category which you set up previously)
· Fixed start date: (if you want the R3 to be available from a specific date (i.e. not immediate)
· Workout frequency: (daily, every 3 days or every week)
· Pre-quiz duration
· Workout duration
· Quiz duration
Note: Default settings: Pre-quiz switched off; Workout duration = 30 days; uiz duration = 5 days. This means that when assigned to a user, only the workout is shown to the user for the first 30 days and then the quiz appears alongside the workout on day 30 to 35 etc. – these settings can be amended

Course image – choose image you will have created -this is the ‘letterbox’ image that appears in the R3 Viewer dashboard – there are specific image size requirements for this image:
Letterbox image size: 908 x 203 pixels

Content – choose populated R3 Excel file from your files/folders (see below for Excel population requirements) – this upload is a ‘zipped’ folder (zipped at the root) containing the Excel file PLUS all the images referenced in the Excel
UPLOAD COURSE – becomes available when mandatory fields (marked with asterisk) are completed
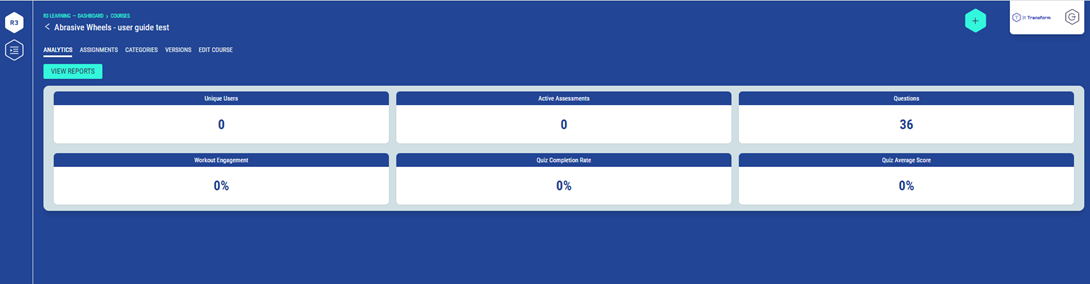
Select the UPLOAD COURSE and the course will be uploaded and you will be taken to the specific R3 course page:
Populating the R3 Excel template
This document outlines the requirements for creating R3 content within the Excel template.
R3 set-up notes:
Please note that the SAME questions used in the ‘workout’ mode are also used in the ‘quiz’ mode:
In ‘workout’ mode, questions are shown (but no answers); therefore, the questions that are posed must make sense in isolation (i.e. they must make sense on their own without any answer options being shown) – Always compose questions so that they make sense without having the answers available
In ‘quiz’ mode, users are shown multiple choice answers - the 4 answer options are always shownIn ‘workout mode’, questions are pulled randomly from the bank of questions
In ‘quiz’ (assessment) mode, at least 1 question from each learning objective is pulled and shown to the user (ensures all LOs are assessed in each ‘quiz’)
Please refer to the following documents:
‘r3_template’- this is the template to be used to create each R3 – refer to screenshot below:
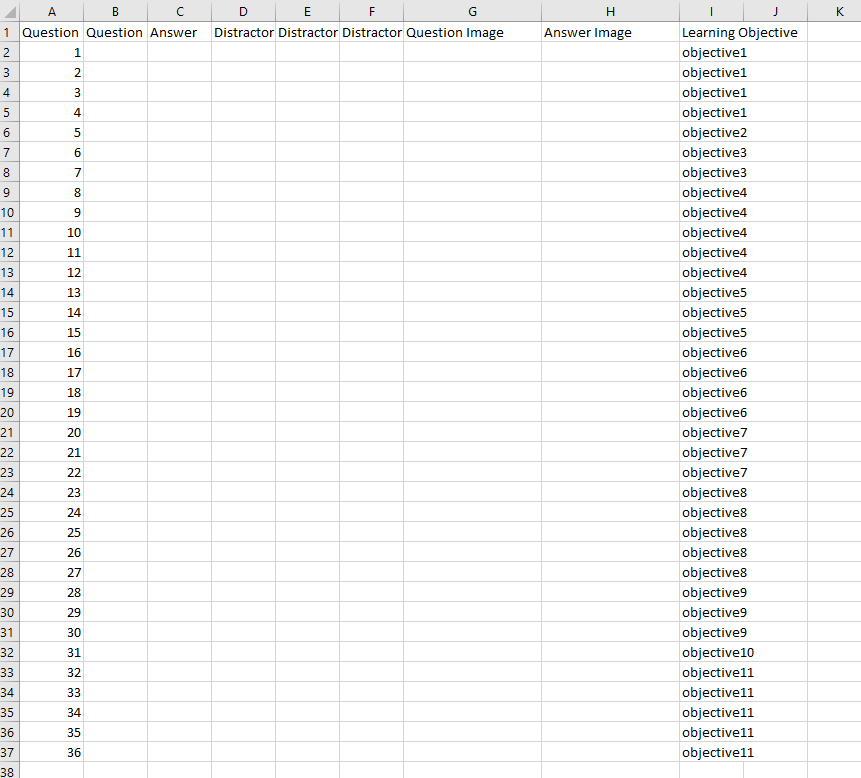
The R3 Excel template should be populated with the following requirements:
Function/entry | Description of requirement |
INITIAL SET-UP | |
Learning objective numbers 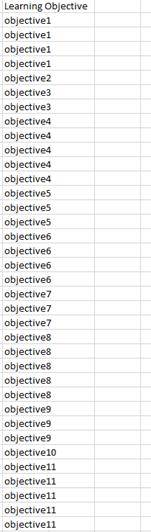 | In the Learning Objective column (column ‘I’) the following information should be populated:
Note:
|
Function/entry | Description of requirement |
POPULATION OF QUESTION AND ANSWER TEXT  | |
Column A: Question numbering: 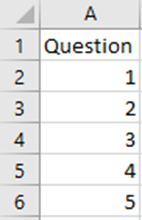
|
|
Column B: Question text:  | This is where the text is populated for each question Notes:
|
Column C = Correct answer 
|
Notes:
|
Column D: Incorrect answer option 1 /distractor 1 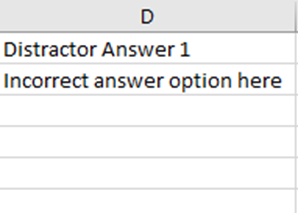 |
|
Column E: Incorrect answer option 2 /distractor 2 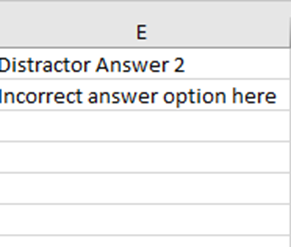 |
|
Column F: Incorrect answer option 3 /distractor 3 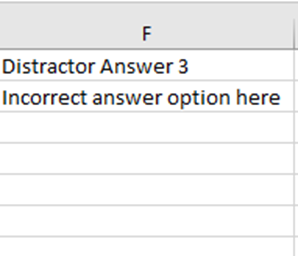 |
|
Column G: Images to be supplied for each question 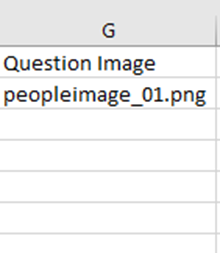 | Size of images: 500px by 500px
|
Column H: Images to be supplied for the correct answer 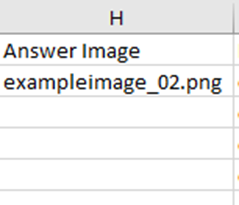 |
|
Column I: Learning objective number: 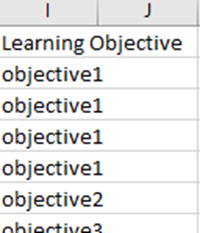 |
|
Images
Note: The image file names populated in Columns ‘G’ and ‘H’ MUST match the file name of the actual image.
Zipped file for ‘UPLOAD’
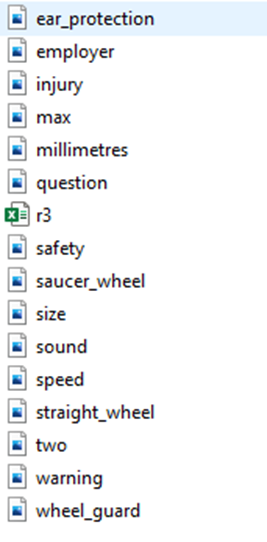
The content uploaded to the system must be in zipped format and contain the r3 Excel template AND all the images referenced in the Excel -example of inside zipped file:
Option 2: Create a Course
This option can be chosen if you DO NOT have a completed Excel template. You can create an R3 course by manually entering questions, answers, learning objectives and images directly into the course builder.


The CREATE COURSE button takes you to this screen:
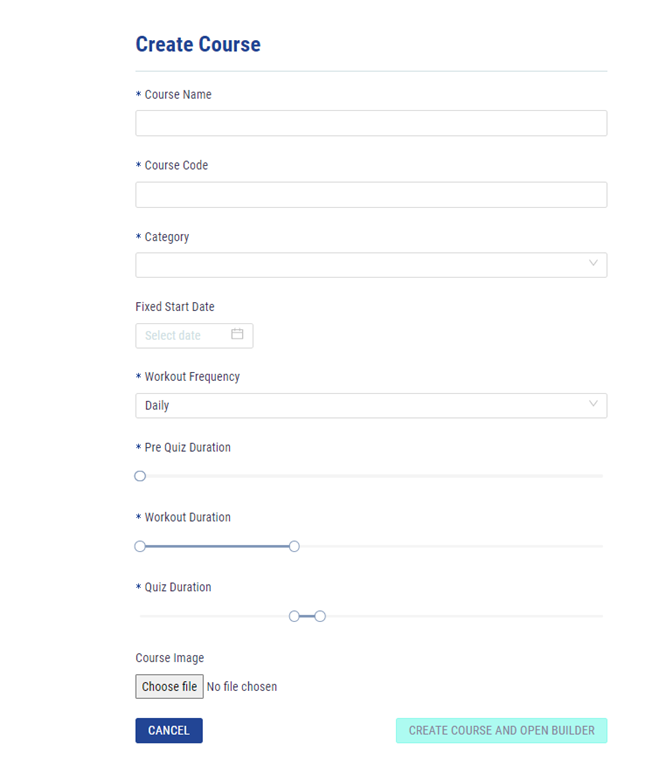
In this section, you need to populate the following:
Course name
Course code (use a unique code for each)
Category (select the category which you set up previously)
Fixed start date: (if you want the R3 to be available from a specific date (i.e. not immediate)
Workout frequency: (daily, every 3 days or every week)
Pre-quiz duration
Workout duration
Quiz duration
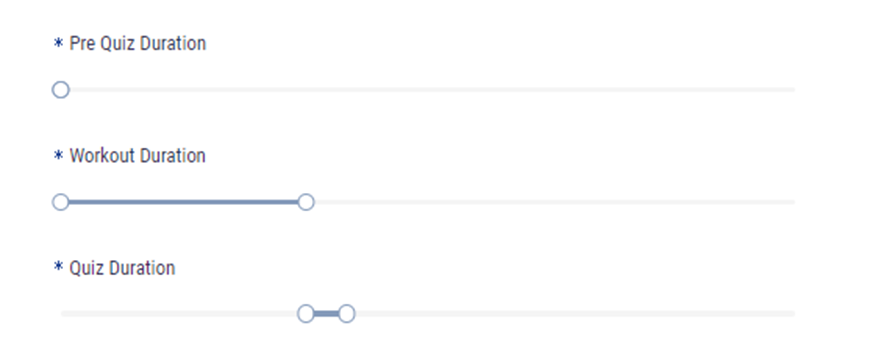
Note: Default settings: Pre-quiz switched off; Workout duration = 30 days; uiz duration = 5 days. This means that when assigned to a user, only the workout is shown to the user for the first 30 days and then the quiz appears alongside the workout on day 30 to 35 etc. – these settings can be amended
Course image – choose image you will have created -this is the ‘letterbox’ image that appears in the R3 Viewer dashboard – there are specific image size requirements for this image:
Letterbox image size: 908 x 203 pixels
Then select the ‘CREATE COURSE AND OPEN BUILDER’ button and this will take you into the R3 course builder from where you can enter all your information:
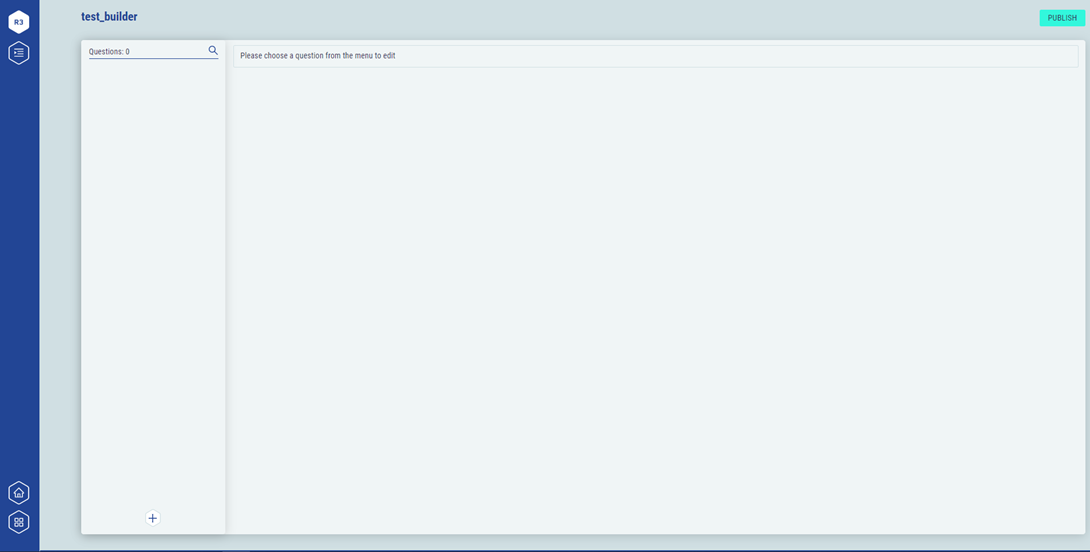
Select the + to add the first question
Then enter required information for the question:
Learning objective
Question text
Upload question image (R3 is designed to be graphical but image is not mandatory)
Correct answer option
Upload image to support correct answer (R3 is designed to be graphical but image is not mandatory)
3 x incorrect answer options
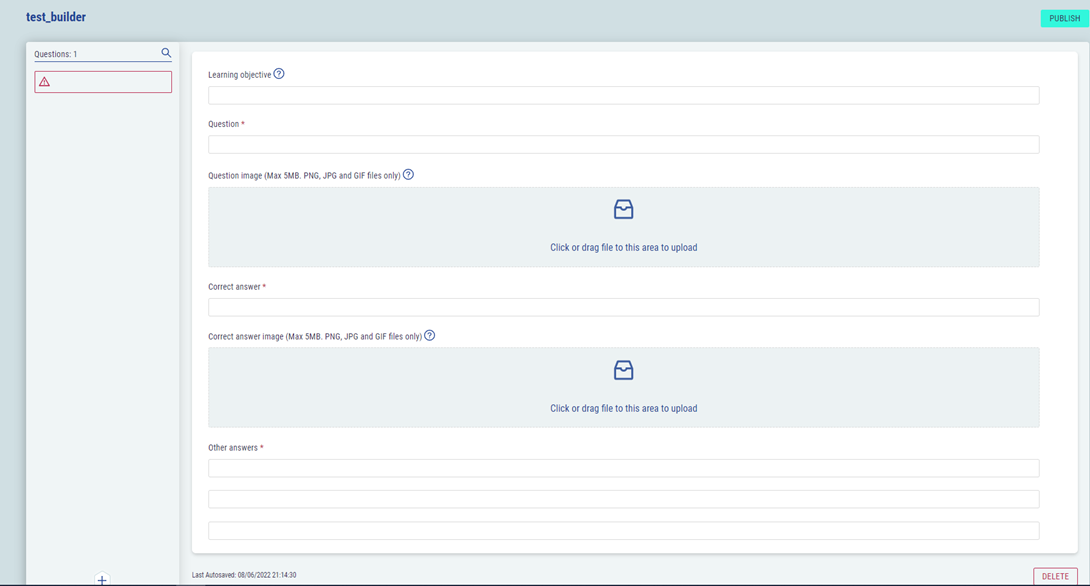
Then just add another question using the + to add each question.
Once all information has been added for all questions, select the ‘PUBLISH’ button in top right corner to publish the R3 course and it will appear in the list of courses.
Adding Users
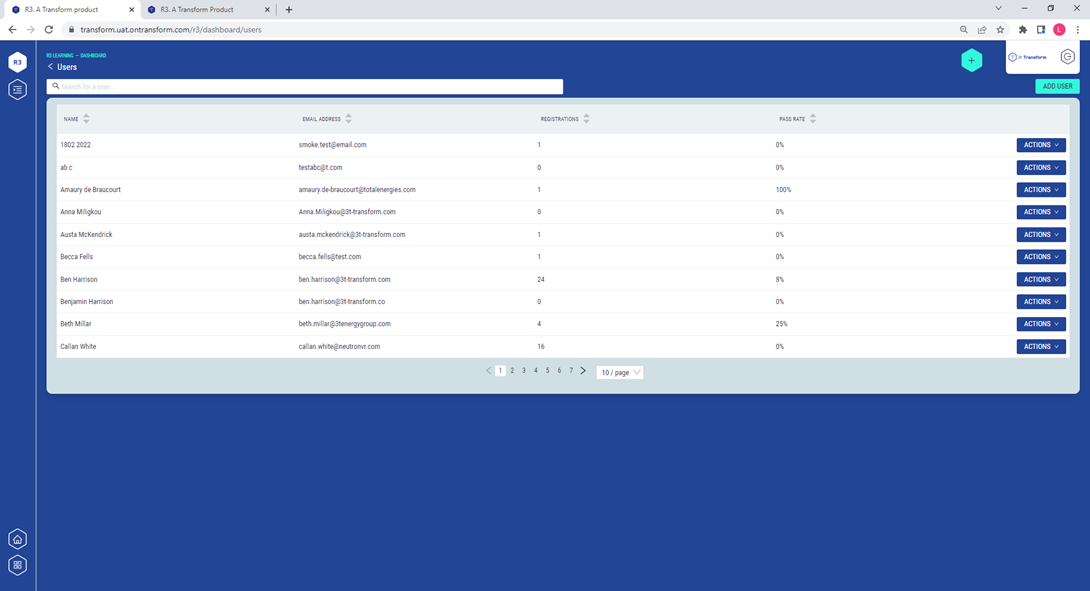
From the main Dashboard, select ‘Total Users’ and ‘ADD USER’ (or access ‘Users’ from sidebar drop down menu)

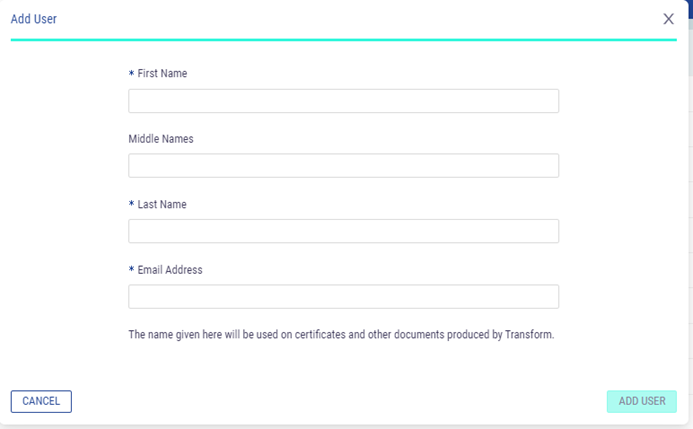
Complete the mandatory fields with the user’s details and select ‘ADD USER’:
Assigning Users
Either:
Find course and ‘Assign user’ to a course
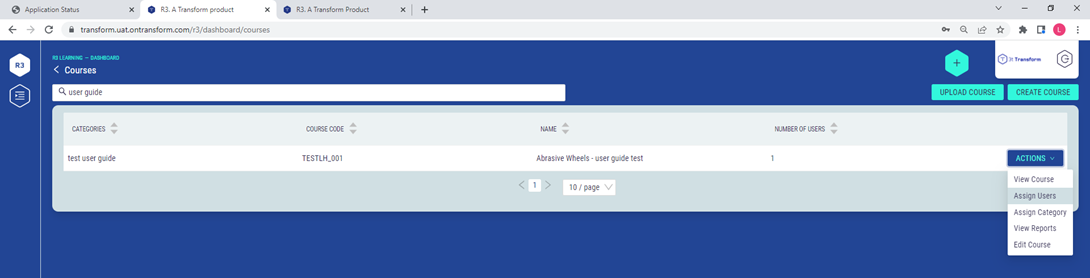
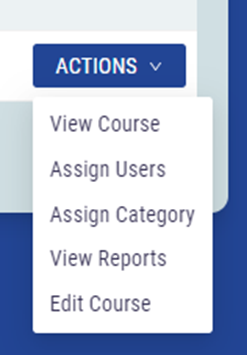
Or
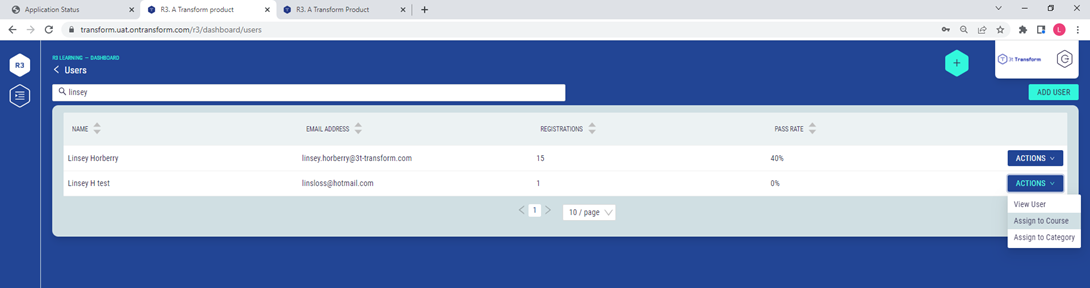
Find a user and ‘Assign to Course’:
User Notifications
Each user will receive a notification email with a link to the R3 login page:
If user is a new user (username is email address) with no previous 3t Digital LMS (access to e-learning) or R3 access/login, they will be prompted to create a password to enable them to log in
If user already has a 3t Digital LMS or R3 account, they can login using their existing username (email address) and password set up previously
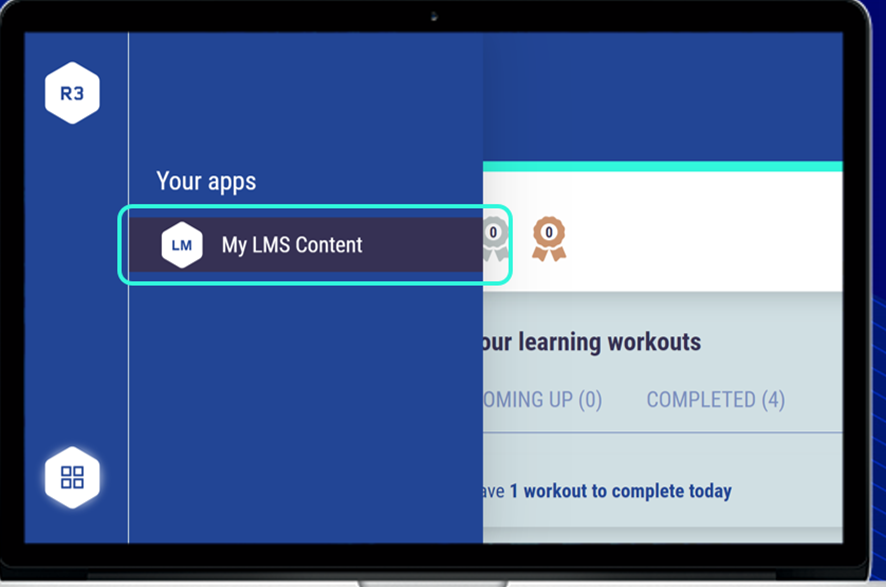
Note: If a user already has an LMS account (i.e. access to e-learning), the user can toggle between R3 and LMS User dashboard using the button in bottom left corner of the user dashboard.
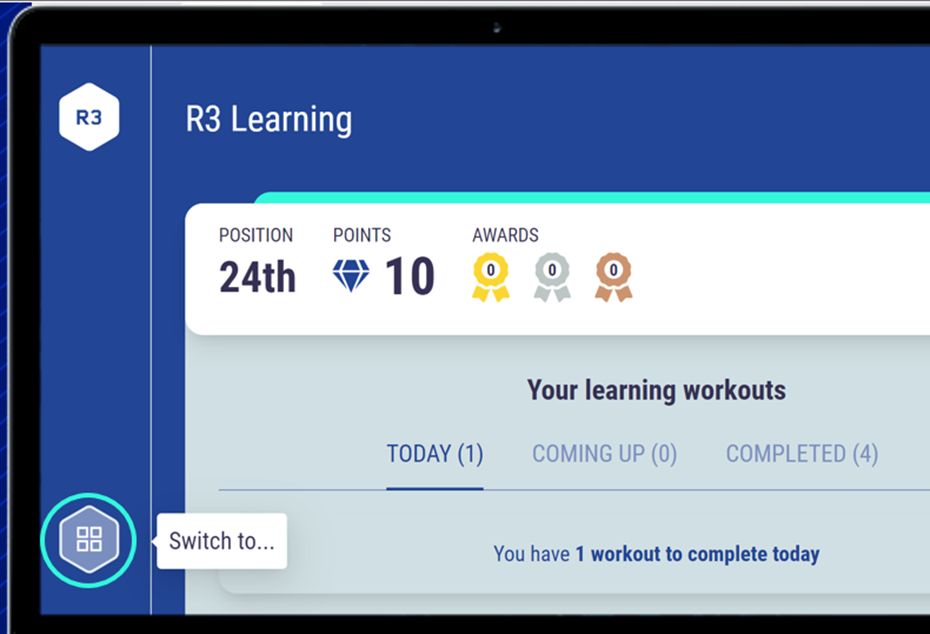
From LMS dashboard:
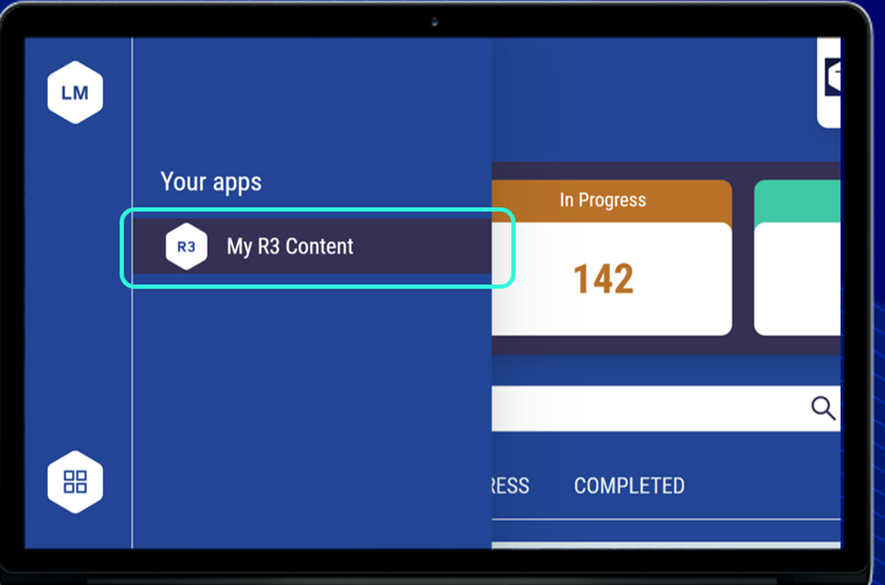
From R3 dashboard